News
Site Editor
 Site
/uploads/5cb96e23627a5.png
Step-by-step guide to safely disassemble, clean, and reassemble twin-screw extruder screws for optimal plastic pipe production.
Site
/uploads/5cb96e23627a5.png
Step-by-step guide to safely disassemble, clean, and reassemble twin-screw extruder screws for optimal plastic pipe production.
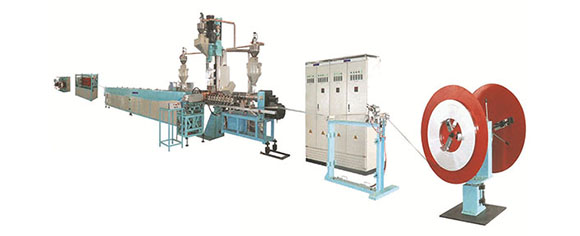
Disassembly and assembly of the screw in a twin-screw extruder
Views: 134
Author: Site Editor
Publish Time: 2025-12-08
Origin: Site

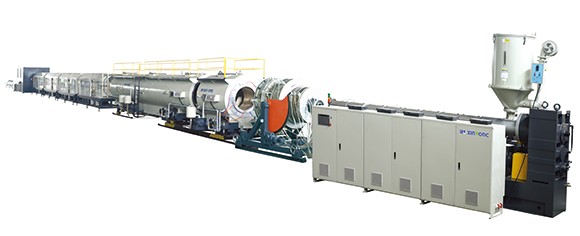
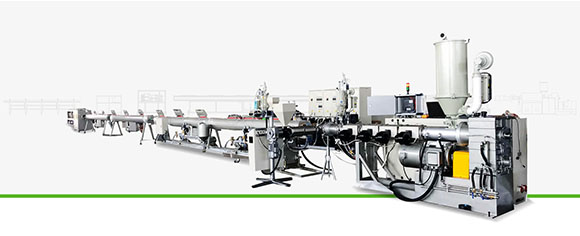
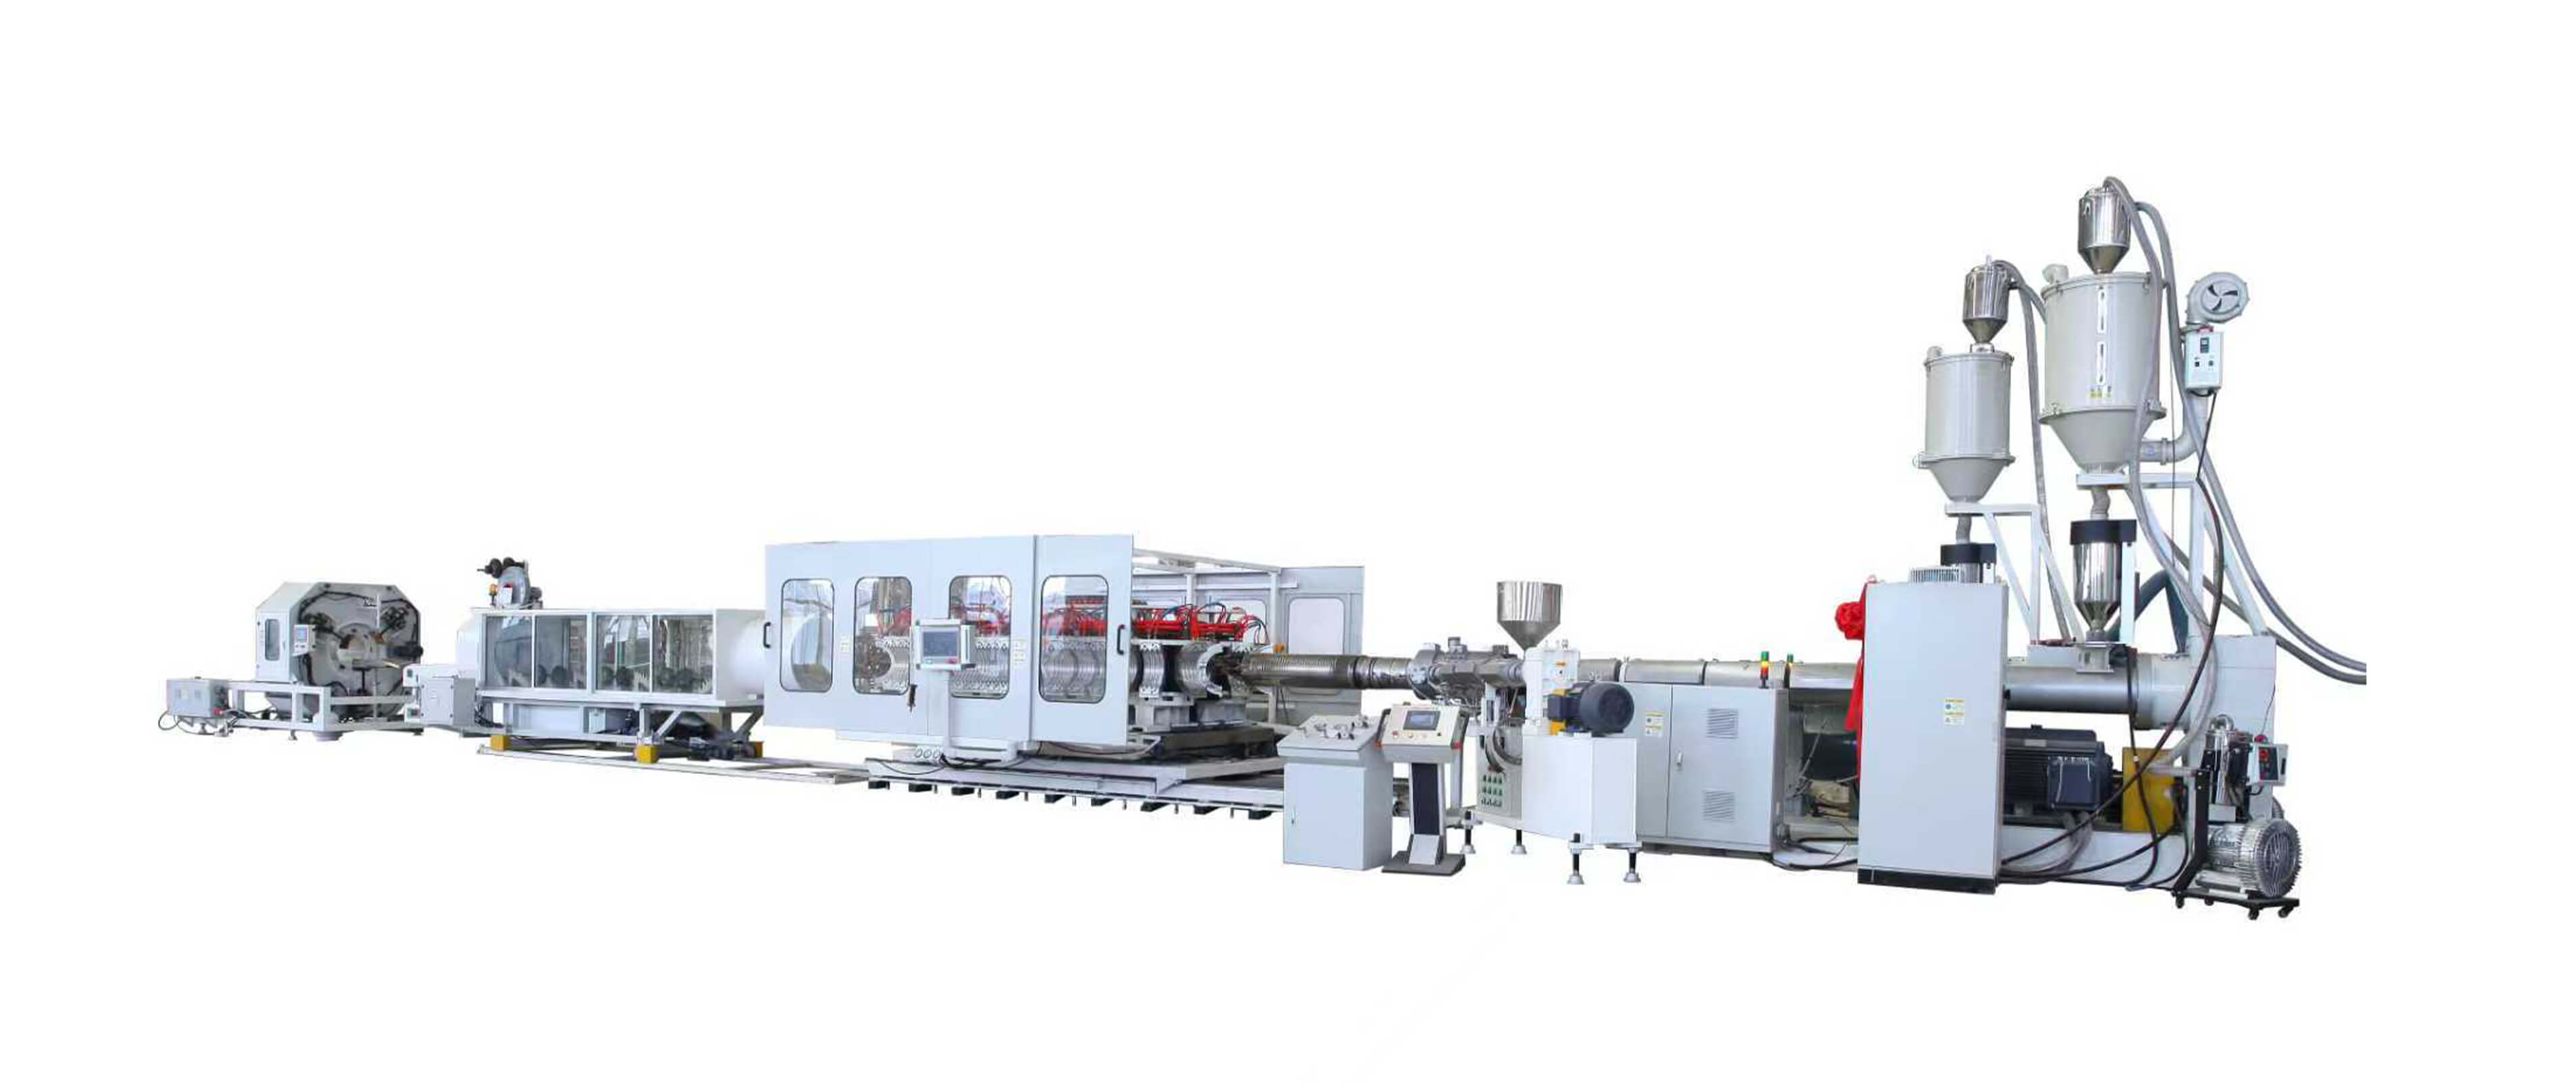
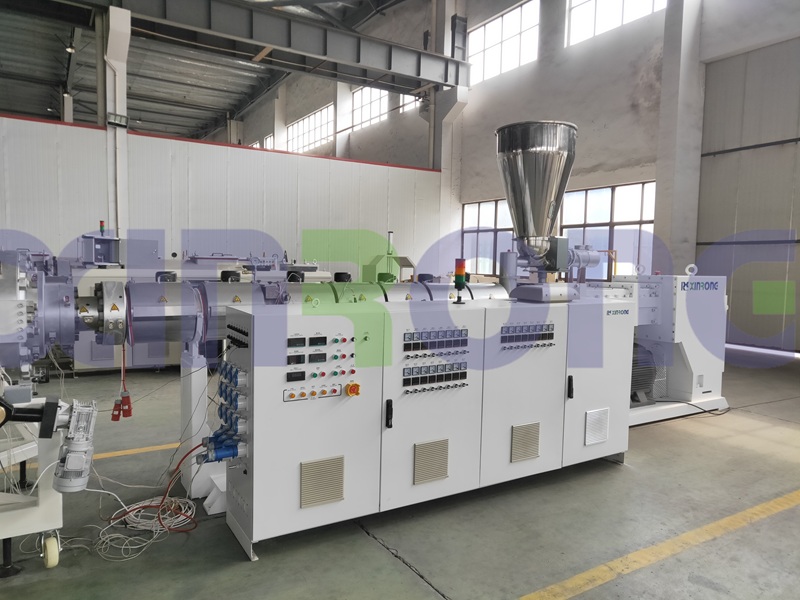
The twin-screw extruder screws are designed based on a modular principle, allowing for interchangeable combinations to suit different processing techniques and operational requirements. When disassembling the screws, ensure the main machine material is completely drained (if the material is high-viscosity plastics like PC or medium-viscosity plastics like ABS or POM, PP or PE material can be added to clean the chamber before stopping the machine). Then, stop the main machine and all auxiliary machines, disconnect the power switch for the die head electric heater (but the electric heaters in each section of the machine body should remain operational to facilitate material removal), and disassemble the screws according to the following steps:
Step 1: Prepare and Clean the Die Head
Remove the temperature and pressure measuring elements and cast aluminum heater from the die head. Wearing thick asbestos gloves, remove the die head assembly (avoid burns). While still hot, apply paraffin wax and wipe with a wire brush and cotton cloth to clean the material inside the die head bore and at the end of the die head screw.
Step 2: Loosen Screw Couplings and Tail Seals
Loosen the fastening screws (or caps at both ends) on the shaft ends of the two sets of cylindrical spline couplings and the sealing caps at the tail ends of the two screws. Observe the two output shafts of the transmission box; the left one is shaft A, and the right one is shaft B.
Step 3: Remove Screws and Clean Surfaces
Remove the two screw head clamping screws (left-hand thread) and replace them with a screw-pulling bolt. Pull this bolt and pry the screws at the coupling, slowly pulling both screws outwards simultaneously. Immediately use a wire brush and copper scraper to quickly clean the material from the screw surface while it's still hot, until all screws are clean. Then pull them out and place them flat on a wooden board or two wooden blocks. Remove the screw-pulling tool and disassemble the screw components while they are still hot. Do not use sharp, hardened tools to strike them. You can use a wooden hammer or copper rod to gently tap along the axial direction around the screw components. If material has seeped into the core surface, making disassembly difficult, you can immerse it in the cylinder and heat it until the material in the gaps softens, then remove it while it's still hot.
Step 4: Clean Screw Components and Apply Anti-Rust
The end faces and inner keyways of the disassembled screw components should also be cleaned and neatly placed on a spare parts rack. Avoid collisions between them (apply anti-rust grease to screw components that are not currently in use). Clean any remaining material from the mandrel surface as well. If not immediately reassembled, hang it vertically to prevent deformation.
Step 5: Clean Extruder Cylinder Bore
After the screw is pulled out, promptly clean any remaining material from the inner bore of the cylinder (this can be done by wrapping a cloth ring around a wooden stick and applying paraffin wax). After cleaning, turn off the heater.
Step 6: Lubricate and Assemble Screw Components
The assembly configuration of the two screws must be identical (except when using a toothed disc). During assembly, a thin, even layer of high-temperature (350℃) lubricant must be applied to the inner bore of each component and the surface of the mandrel. When each screw component is mounted on the mandrel, its end faces should be fully engaged, and the connection should be smooth and without misalignment. Tighten the screw head screws (lubricant should be applied to the screw threads).
Step 7: Check Meshing Clearance and Insert Screws
Place the two screws side-by-side in their working positions and check all radial and axial meshing clearances of the threads. No interference between the screws is acceptable. Then, according to the corresponding letter positions of the spline at the screw tail and the sleeve coupling, simultaneously push both screws into the cylinder, ensuring the screw tail is tightly engaged with the gear shaft surface of the transmission box. Tighten the fastening screws (or tighten the caps at both ends of the spline), and re-tighten the tail sealing cap.
Step 8: Lubricate Tail Spline
Before installing the screw, apply a thin, even layer of lubricant to the spline at the tail end.
Step 9: Manually Check Rotation and Install Die Head
After installing the screw, manually rotate it at least two revolutions to ensure there are no abnormalities such as interference or scraping. Then, install the die head. During installation, apply molybdenum disulfide lubricant evenly to the threaded surfaces of all screws.
Step 10: Heat Die Head and Start Extrude
After reheating the die head to the set temperature, start the machine according to the normal procedure.
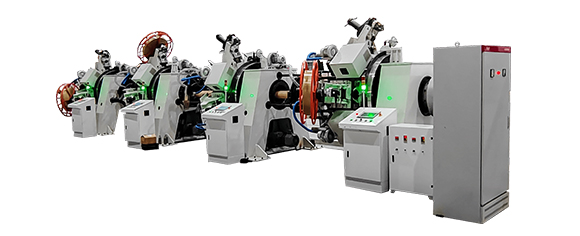
Jiangsu Xinrongplas Machinery Co., Ltd. is a high-tech enterprise specializing in the research, development, manufacturing, and sales of plastic pipe production lines and related equipment. Our product range covers flaring, forming, and related equipment for various plastic pipe materials, including solid-wall pipes, corrugated pipes, and spiral wound pipes. Our sophisticated craftsmanship, stable performance, and comprehensive after-sales service have earned widespread praise from customers both domestically and internationally.